Strawbale Build for Gardening Which? Magazine
at their Trial and show gardens at Capel Manor College, Enfield
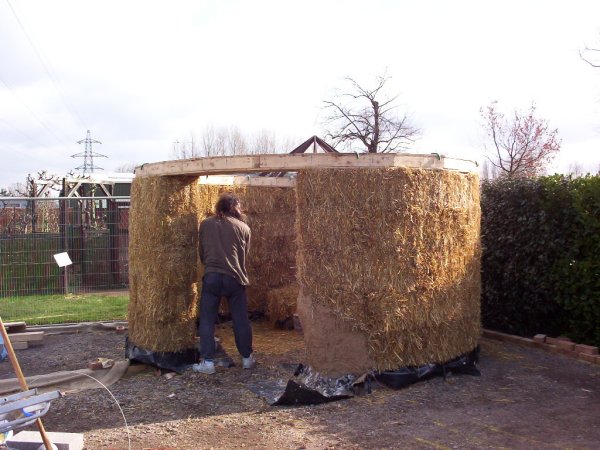
These are pictures of a strawbale build for a Climate Change Garden
Creating an African style garden hut and a Serpentine(or crinkle-crankle) wall
Built with volunteers with no previous strawbale building experienceClick on the images for larger pictures.
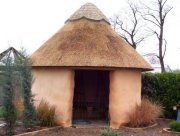
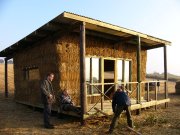
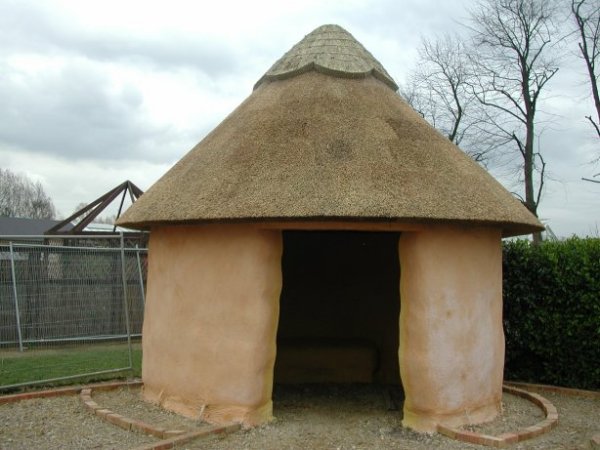
First we built the African style garden hut, here it is prior to applying the earthen/lime render.

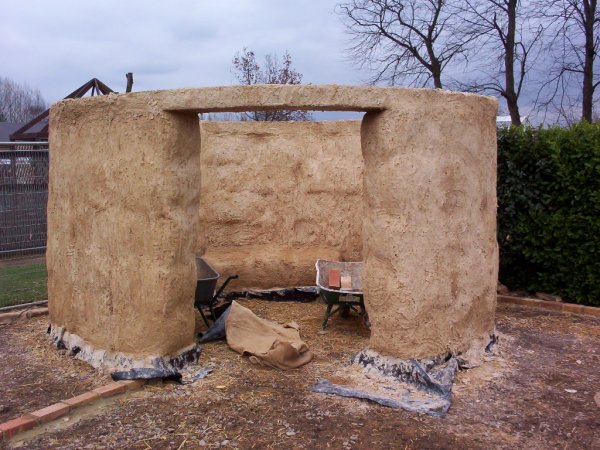
The first coat of render using an earthen/lime render.

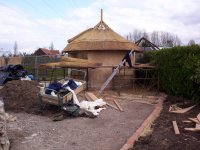
The roof starts to receive it's Norfolk reed thatch.
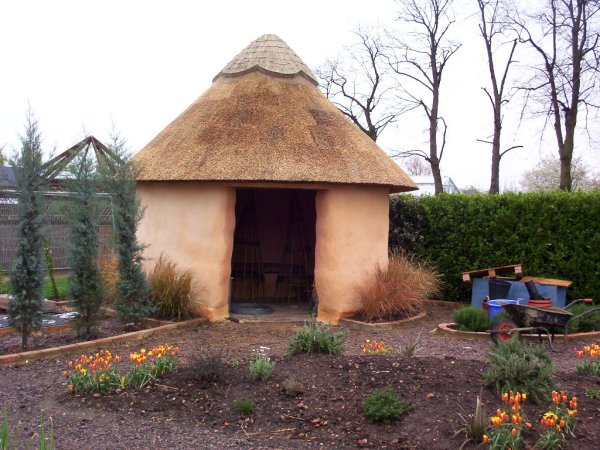
last coat of lime render has now been applied and the roof is finished.

Next the building receives several coats of coloured limewash.

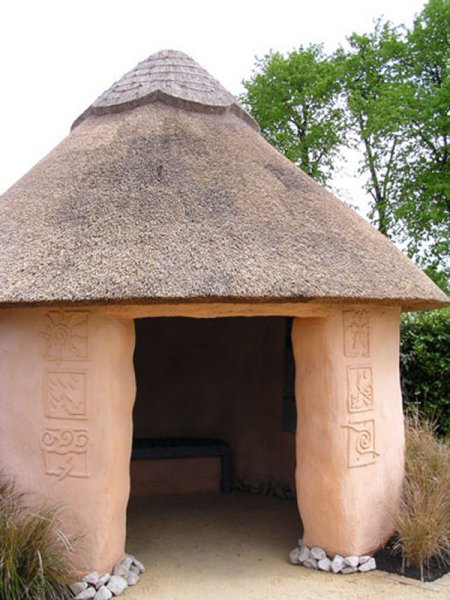
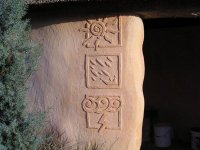
After the building is finished it is given some fine detailed pargeting by Oliver and Inna (http://www.greenhamlet.com/).
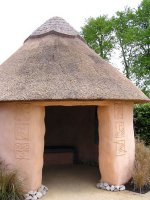
A close up of the beautiful pargeting work.
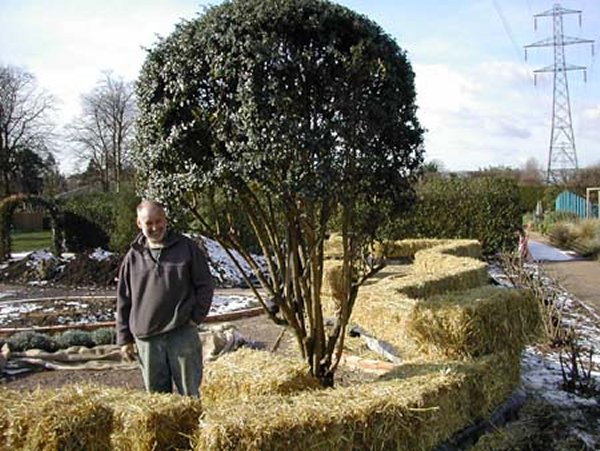
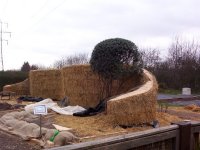
Next Job was to start the serpentine(or crinkle-crankle) strawbale wall.

As with the round hut, lots of bales needed custom shaping to follow the curves, now four courses high

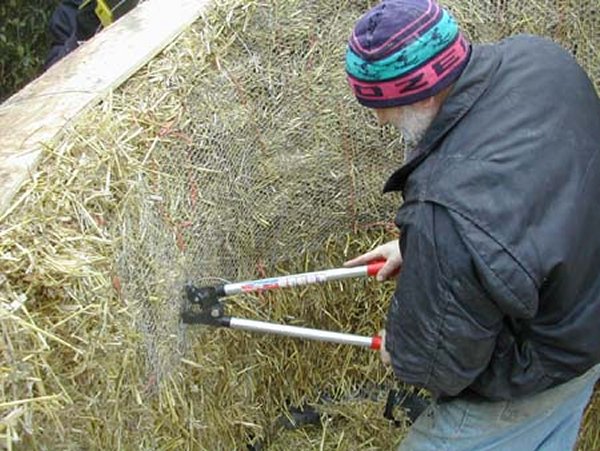
The wall was compressed using gripple wire tensioners, with the wire running over plywood top plate and down through the rubble trench foundation .

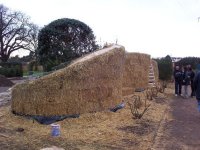
Now the wall is nicely compressed and the straw/chicken wire capping can be fitted.
Chicken wire is formed into an arch and stuffed with straw, then tied down tightly with baling twine.
Next the wall receives it's first coat of earthen/lime render, we created a truth window for the non believers.
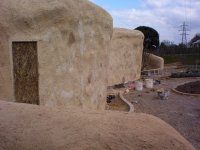
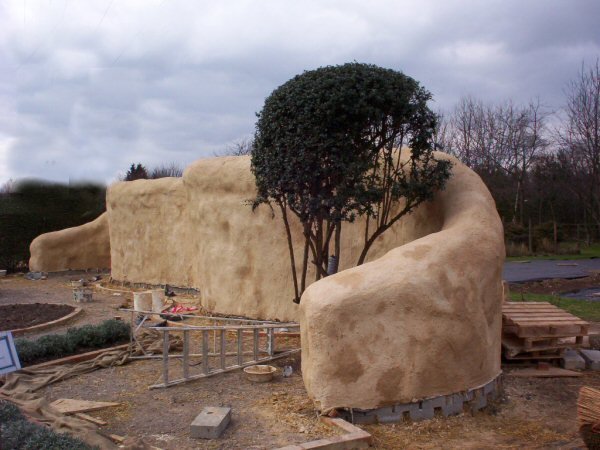
View from the opposite end after the second coat of earthen/lime render has been applied.

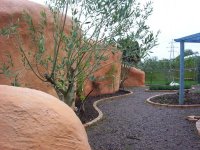
The wall after several coats of coloured limewash, now with planting and paths.
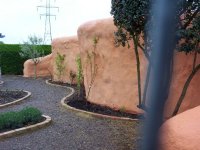
The view from the opposite end to the previous picture.
|